Creating an Animated Tortoise Part 1
2014-05-28
This tutorial is about creating animated objects. As an example we'll a create nice little tortoise. This tutorial consists of several parts. The first part will cover modeling, texturing, setting up the materials and exporting the static scene to Blend4Web, and the second one will be about rigging, animation using the NLA editor, baking and exporting the animation sequences.
Modeling
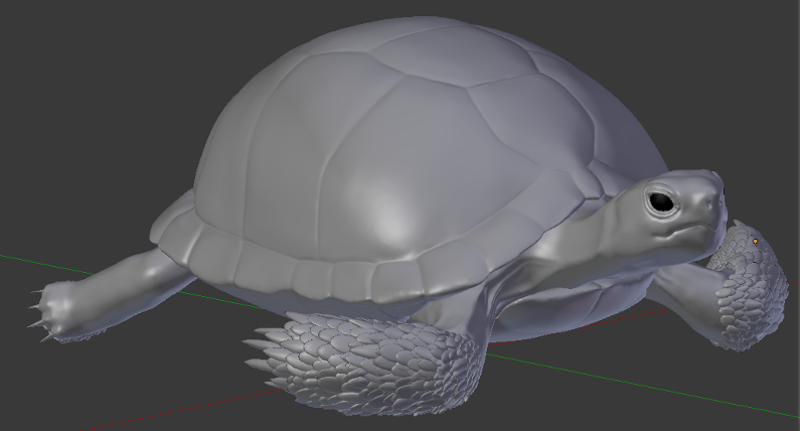
First of all we created a high-poly model using the dynamic sculpturing method. Also, the corneous scales were created as separate meshes on the front and rear paws.
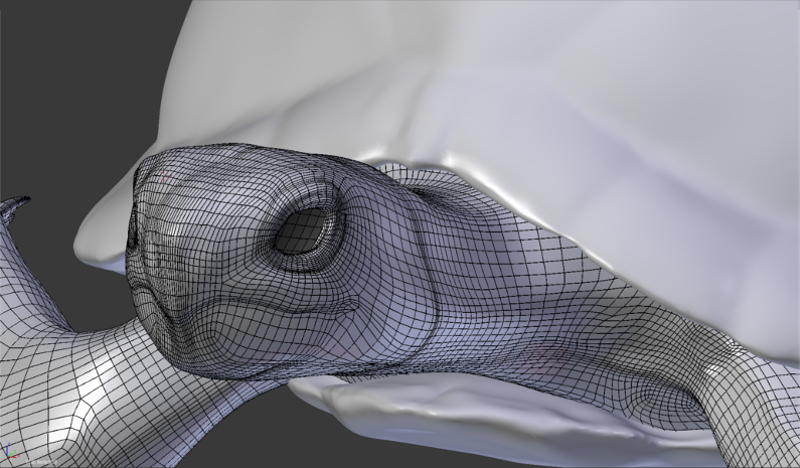
Then we performed retopology using the Shrinkwrap modifier: the new model is also a high-poly one and follows the original geometry. This model makes it more convenient to perform UV unwrapping for the texturing to come. After retopology is performed, the model we created with sculpturing is no longer needed.
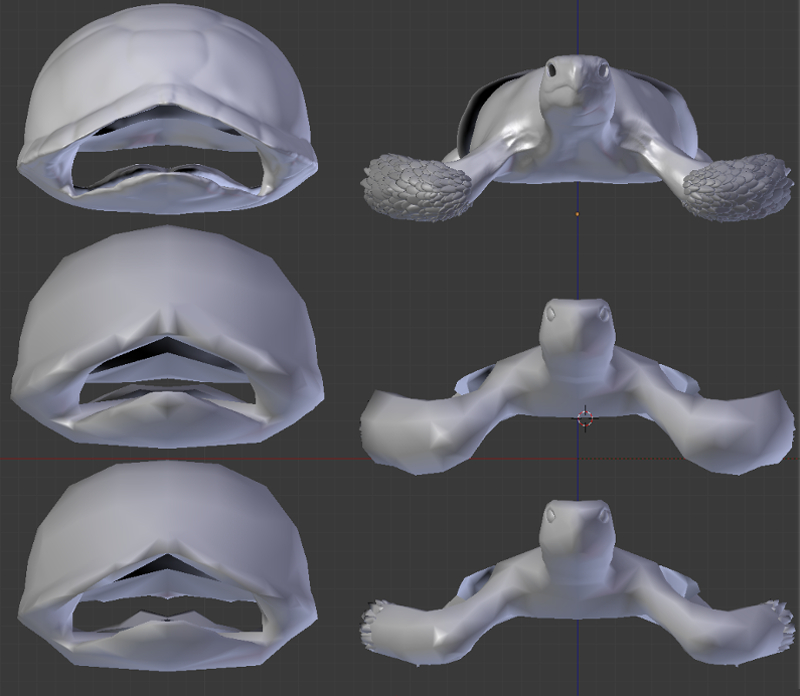
The Shrinkwrap modifier was also used to create the low-poly model. Altogether two models were created: one for baking and the final one. Because the corneous scales greatly stick out of the main mesh, the model for baking was extended in certain places. Otherwise some unpleasant artefacts might have appeared during baking. This was a specially visible on the front paws. Compare: above you can see the high-poly model, in the middle - the model for baking and below - the final model. The shell is separated from the body to make the texturing of internal parts more convenient. After texturing they were merged together again.

Texturing
At first a diffuse texture for the high-poly mesh was created with the texture paint tool. Then a black and white specular map was created out of it. This map was also used for creating the relief using the Displace modifier. After that these textures together with the normal map were baked from the high-poly to the low-poly mesh.
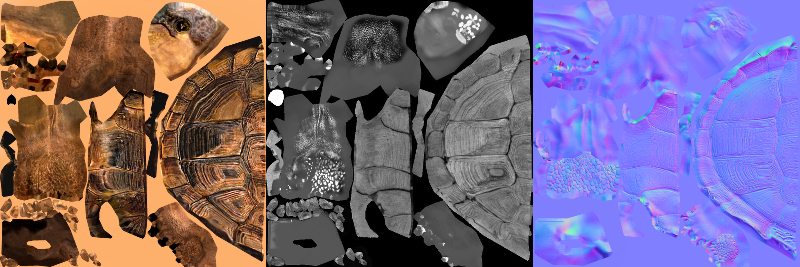
In order to optimize memory usage we packed the diffuse map and the specular map into one image (the specular map is in the alpha channel).
Material Setup
After we have the diffuse texture together with the specular map in the alpha channel, we can set up the final node material for our tortoise:
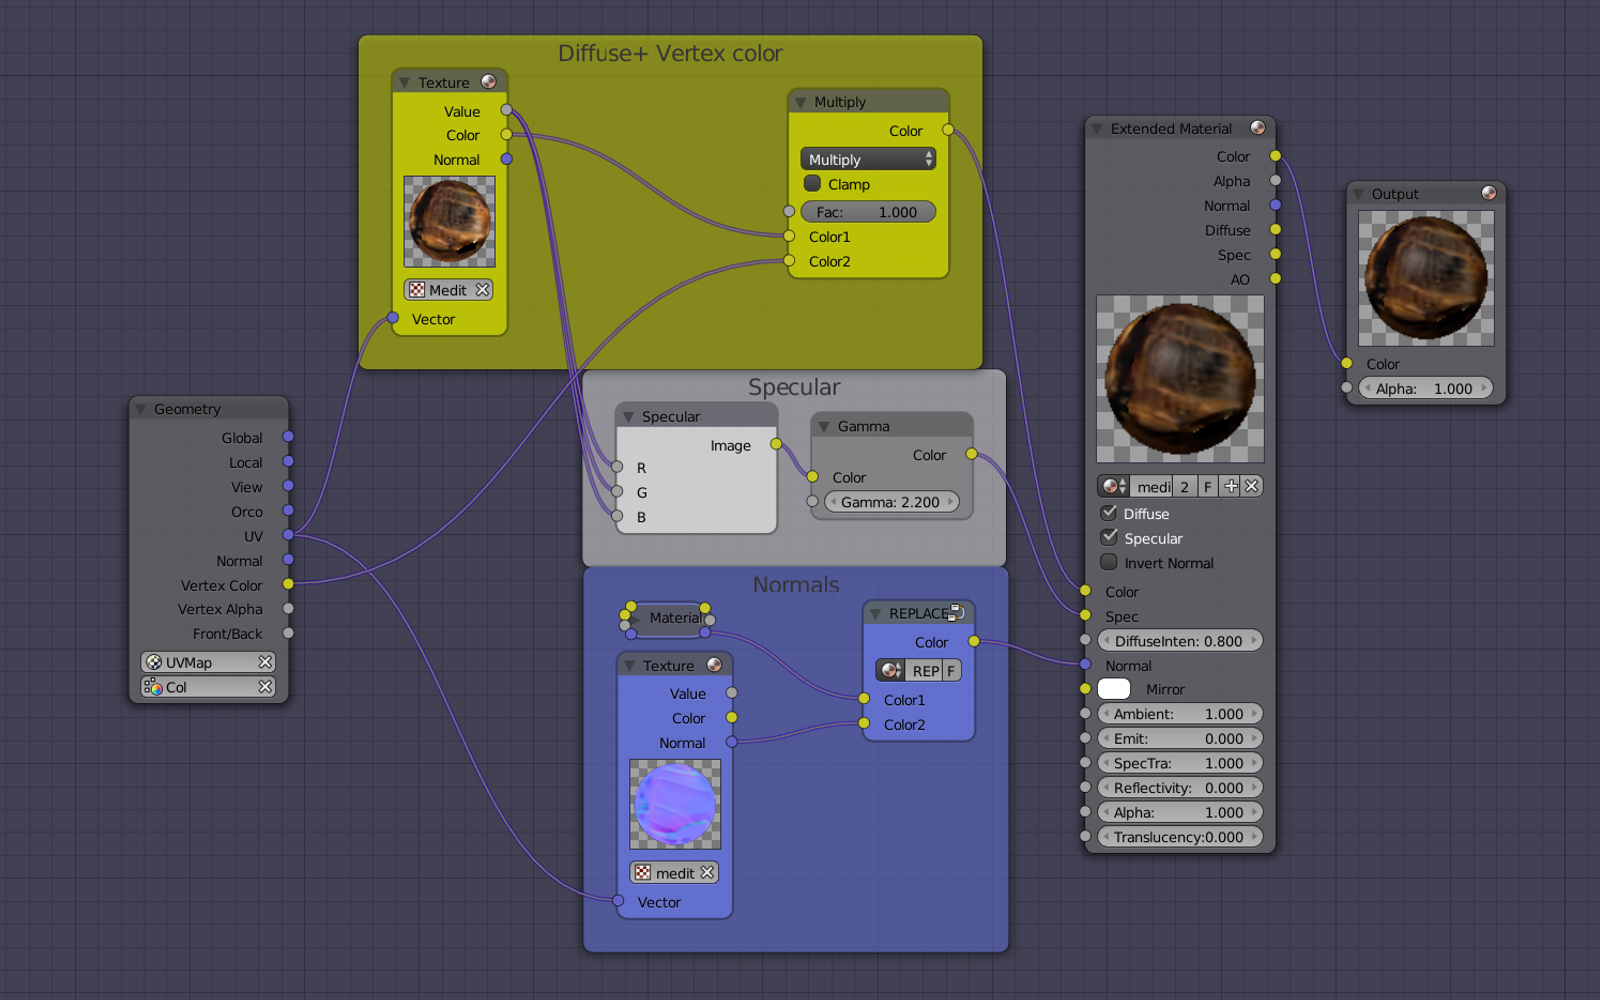
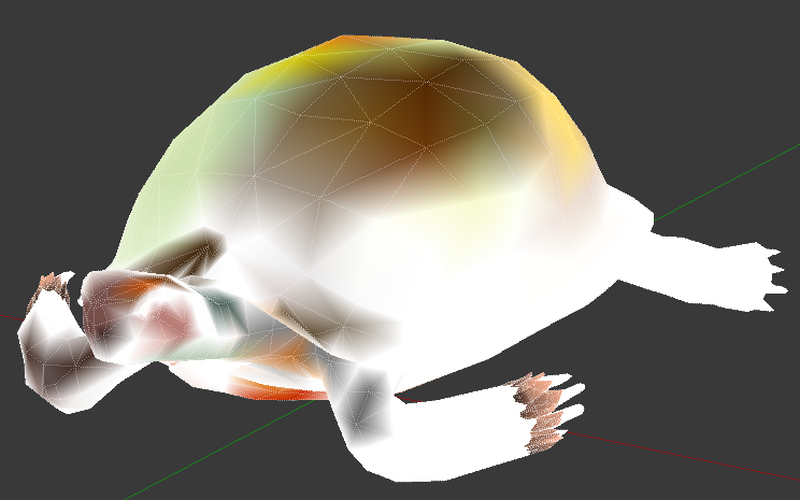
To create an illusion of asymmetry a vertex color can be used: color spots multiplied by the main texture color. The vertex painting itself looks like this:
After this we should set up lighting and a minimal environment as was explained in the Making a Beach Umbrella tutorial.
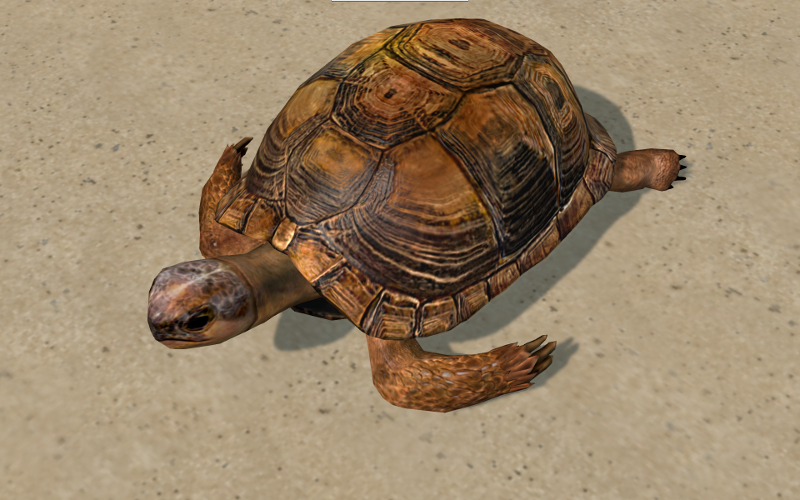
Now everything is ready - just export the tortoise into the engine:
File -> Export -> Blend4Web (.html).
This is where the first part finishes. The next part will cover rigging, animation, baking and export.
You can find the source blend file in the following directory: blend4web/blender/tutorials/basic/mediterranean_tortoise_1/.
Changelog
[2014-05-28] Initial release.
[2017-01-12] Fixed incorrect/broken links.