I am always searching online for articles that can help me. There is obviously a lot to know about this. I think you made some good points in Features also. Keep working, great job! go deal now
Creating Blend4Web Materials. Multi-layered Structures
2017-12-19
We are continuing the series of tutorials on creating realistic-looking materials for Blend4Web projects. All examples in these articles are taken from our Material Library, and now, it is finally time to talk about complex multi-layered materials. If you missed previous articles, you can find them here.
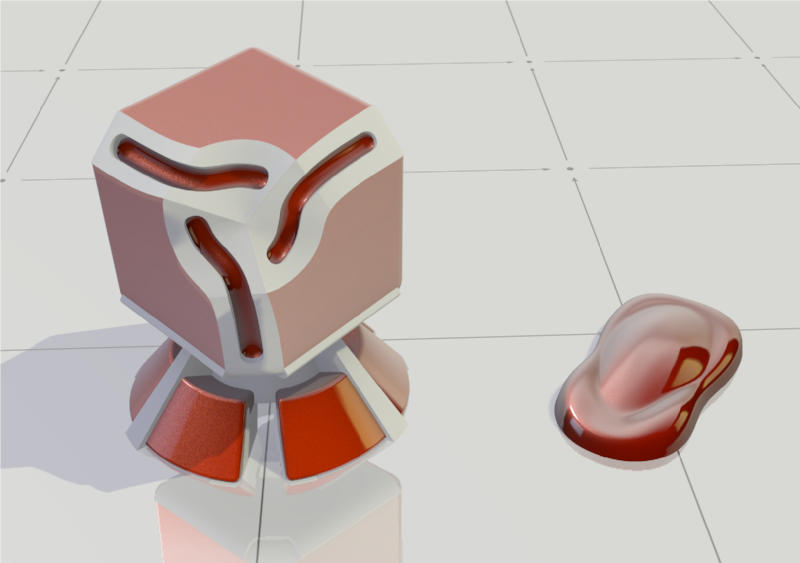
Car Paint material
Multi-layered materials can be used to imitate car paint, lacquer wood or carbon. There are several ways to create materials of this type. So, let’s get acquainted with them.
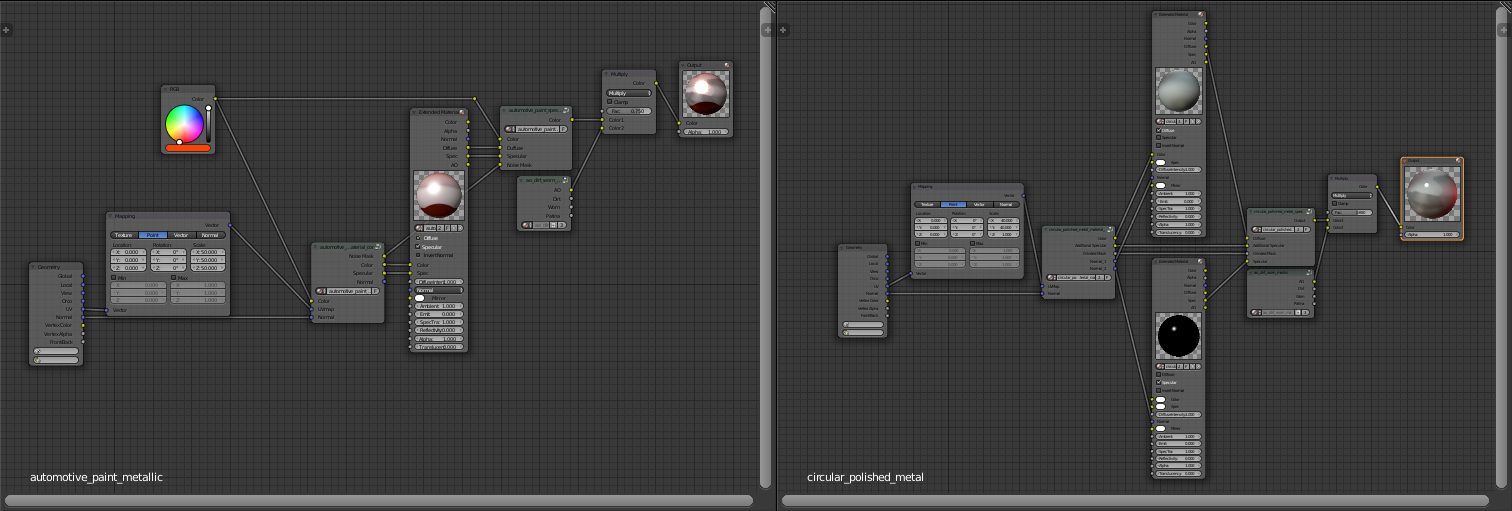
Two variants of the Car Paint material inner structure
This picture shows two different approaches to creating multi-layered materials. At the left, we see a car paint material. Its first layer, the one that has a “metallic” effect, is considered the main one, while the “lacquer” layer is applied to it. Both layers reflect and diffuse light differently.
The second one is the polished metal material with anisotropic highlights. Here, the first layer directs the lights along the polishing marks on the surface. The second one diffuses the light on the surface of the outer protective layer.
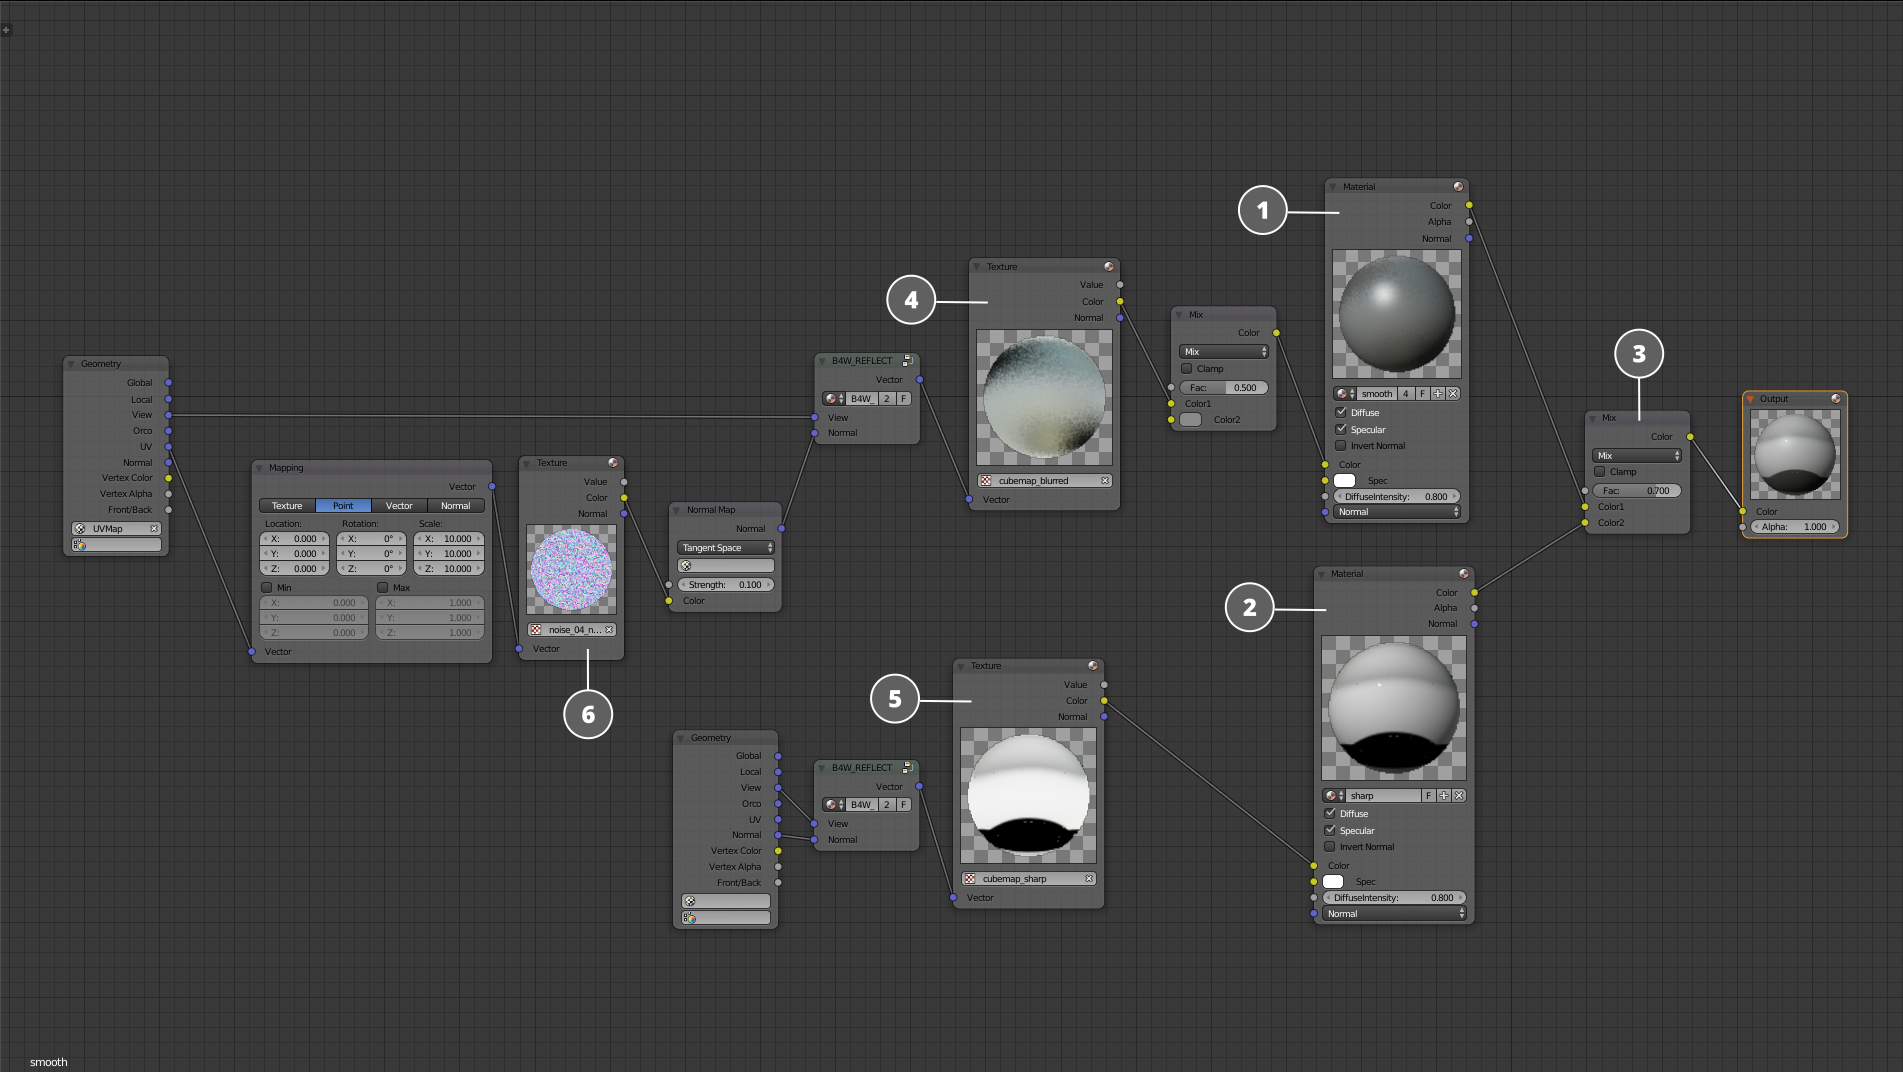
The first variant of a two-layered material
The most simple way to create a two-layer material is to use two Material nodes with different settings. The first material should imitate matte surface (1), while the second one will handle lacquer coating (2). They are mixed together using the ColorMix (3) node. You can, by the way, connect a mask to the Factor input of this node to create abrasions and rust marks on the metal surface.
To make the effect more visible, cubemaps with different levels of blur (4 and 5) are connected to the Color inputs of both materials. Another cubemap, an even more blurry one, is connected to the normal map to create major inequalities of the surface. This way we get two different shaders that, when combined, create illusion of a single material.
Now, let’s take a look on another method of creating multi-layered materials. This time, we will use a single Extended Material node.
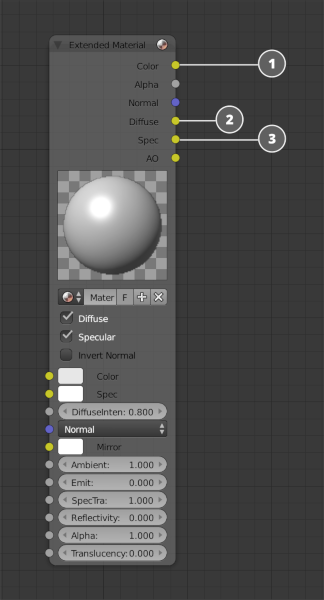
Extended Material node
In comparison to the more simple Materal node, Extended Material features more inputs and outputs. For now, however, we only need three of them (see the picture above).
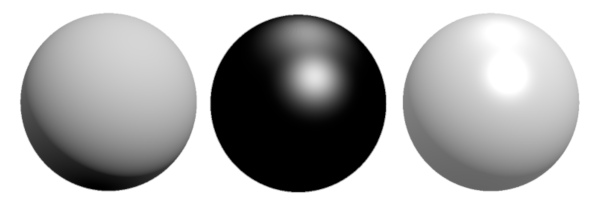
1 — Diffuse shader, 2 — Specular shader, 3 — two shaders mixed together
1. Color. This input is similar to the one found in the Material node. Here, we get the combined information.
2. Diffuse. This is the color component of the shader, with shadows, but without highlights.
3. Specular. This socket is the main reason to use the Extended Material node. It gives us an option to manipulate the Specular parameter of the material and mix it with the main Diffuse color.

Two-layered material that uses the Extended Material node
Cube maps are set up the same way as in the previous example. Here, they are once again used to add inequalities to the surface. The main part of the work is done with the Specular parameter, which by default is set to be very blurry. By using the ColorRamp node, we make it a little more rough, then we mix the result with the original Specular (3) and then connect it to the main color (4). This is how two Specular with different levels of blur can be used in the same material.
This, however, is not the end. The secrets of even more complex and intriguing materials await us in the next article...