Bustling Balloons
2014-08-05
Intro
In this article we'll tell you how to create the animated balloon effect that was used in our last article called Webmasters! 3 Ways to 3D Web. We'll give a brief description of modeling and animation and a detailed one - of creating the node material.
It may seem at first that the approach described in this article is too complicated because the models are rather simple - just textured balloons. As we'll see this seeming complexity is the price for creating 3D content as optimized as possible.

Model and Animation
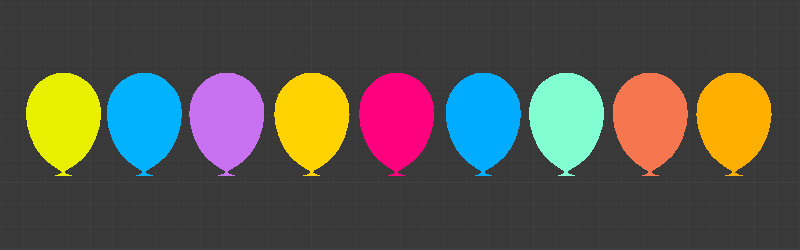
All the 9 balloons are just a single model. For the model an armature was created with the same amount of bones as there are balloons so that every bone would move a balloon each.

The balloons' backside geometry has been removed for optimization purposes:

Therefore we have only one animated object on the scene. Then using the standard method for the skeletal animation we've created two animation sequences: the start up of the balloons and the subsequent floating in the air.
Textures
Altogether three textures were prepared. In two of them the letters composing the word "blend4web" were assembled and arranged in the different color channels:

Notice
Distributing masks across the channels of one texture is wonderful way to reduce the amount of textures and decrease video memory consumption. As a result a reserve for improving texture quality is created.
To imitate the reflection effect we'll need a black and white matcap (material capture) texture. As the camera view will be fixed so such a texture will be just enough:

The balloons will be colored with the vertex color assigned to the geometry in advance:
Notice
Using a vertex color for painting instead of textures is yet another remarkable optimization option.
Setting up the Material
In this example we'll create a single universal material for all the balloons. This will allow to use only one draw call for this quite interesting scene. The material looks rather bulky so lets look at it step by step.

The biggest node block (1) is intended for extracting letter images from the previously created textures and assigning them to the balloons. Vertex color masks were applied to the balloons to identify them.
Notice
Using vertex colors as masks is an easy and convenient way of mixing different elements of node materials. Theoretically you can pack up to 8 masks into one vertex color layer using red, green, blue, cyan, magenta, yellow, black and white colors. With very simple math these colors can be converted into black and white masks. We'll look at this interesting method in one of our next articles.

Next we mix (2) the previously created matcap texture with the vertex color and add the letter texture (5).
In order to implement transparency and also to create a fade-in effect for the balloons lets create a procedural mask for the alpha channel (3). For this we'll use the vertical black and white gradient extracted from the Global socket of the Geometry node. We use the Dot Product node to create the effect of transparency that decreases towards the edges (aka Fresnel effect).
This vertical black and white mask was also used for the highlights (4).
In order to disable shading from the light source but leave the highlights untouched lets do the following. Extract Spec from the Material node and add it to the pure color (6). Pass the resulting color directly into the Output node.
As a result we've got a material which is realistic and rich with visual effects.
Conclusion
Blender's built-in node material editor makes it possible to create materials that are very convenient for tweaking and fine tuning. Node materials are easily modified when visualization requirements change without the need to recreate them from scratch, and also allow to implement a number of optimization strategies.
The source files for this example will be available as part of the next Blend4Web SDK free distribution release.
Changelog
[2014-08-05] Initial release.